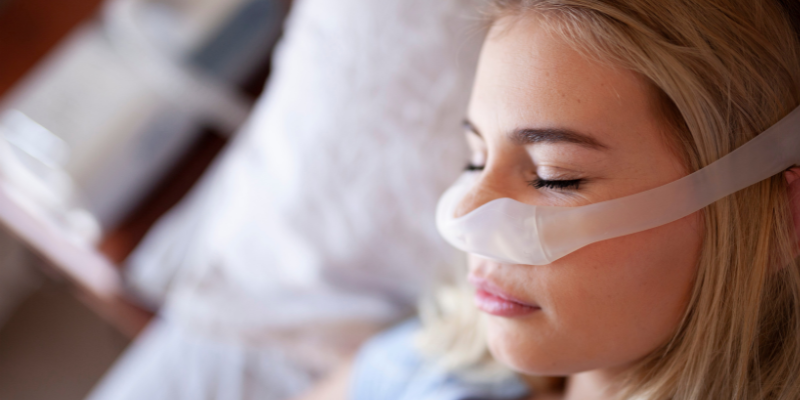
Proper cleaning and maintenance of your CPAP machine is critical to ensure that you are receiving the most effective CPAP treatments. Thoroughly cleaning your CPAP machine will prevent the growth of mold and bacteria, reduce the risk of infections, and will keep your equipment working properly. Continue reading to find out how to properly clean and maintain your CPAP machine!
When to Replace Supplies
- Filters – Every 3 Months
- Mask and Headgear – Every 6 Months
- Mask Cushions – Every Month
- Tubing – Every 3-6 Months
- Humidifier Chamber – Every 6 Months
How to Clean Your CPAP Machine
- Start by unplugging your machine and disassembling your device. You will want to remove the CPAP tubing, mask, and headgear to prepare for cleaning.
- Once your device is unplugged, you can gently wipe the outside of your machine with a damp cloth.
- Use mild dish soap and warm water to clean your mask, tubing, headgear, and humidifier chamber.
- Use a towel to gently pat all parts of your CPAP machine dry with a clean, dry towel and allow each part to completely air dry before reassembling.
Other Maintenance Tips
- Always avoid harsh chemicals and detergents when cleaning your CPAP supplies.
- Be sure to wash and/or replace filters regularly.
- Wash your face before putting on your CPAP mask at night to prevent buildup of oils and dirt.
- If you are sick, it is important to wash your CPAP equipment more often.
- Inspect all pieces of equipment when cleaning to look for wear and tears – this will help you replace supplies as needed.
Cleaning your CPAP machine can be simple with these helpful tools! At ThedaCare At Home, we provide CPAP cleaning supplies to make keeping your CPAP machine clean and maintained even easier. We offer CPAP sanitizers, CPAP mask wipes, mask cleaner spray, and more! Visit our website to start shopping! If you need any assistance, please reach out to our team.
June 2, 2023 by ThedaCare At Home

